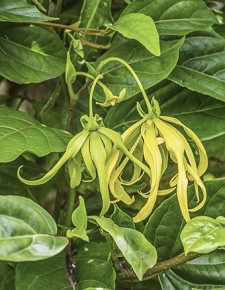
Diffuse?
What’s the big deal about diffusing essential oils? Well, there is actually a long list of benefits. Diffusing (specifically cold-air diffusing) can:
- Produce negative ions
- Increase amount of available oxygen
- Improve concentration & mental clarity
- Relieve headaches
- Eliminate airborne germs & unwanted particles
- Release natural ozone
- Relieve tension
- Stimulate neurotransmitters
- Alter molecules that create odors
- Improve hormonal balance
It’s also the most cost-effective way to use essential oils. Diffusing 3-4 drops of oil will benefit the whole family whereas topical application or ingestion only benefits one person.
One of the major benefits of diffusing is the connection from your nose to your brain (to put it very simply!). When you inhale a fragrance, it triggers your olfactory bulb and transmits impulses to other parts of your brain. Especially interesting is the effect on the limbic system, which affects heart rate, blood pressure, breathing, memory, stress levels, and hormone balance. So that simple diffuser and bottle of essential oil provides a whole host of benefits to your body.
A few guidelines
While learning to diffuse essential oils is great, there are a few very simple guidelines to keep in mind.
Start slowly
While some diffusers come with instructions to dilute as much as 12 drops of oil, that much is not necessary. The most I ever diffuse is about 8 drops. And, if you’re just starting, begin with 3-4 drops. Too much at once can cause headaches and overload your body. More is not always better – especially in regards to essential oils.
Also, only diffuse for 15-30 minutes at a time. It doesn’t need to run all day to receive the benefits of the oils. Of course, if it’s cold and flu season, we like to run it more often – to keep those bugs away!
Don’t mix blends
Essential oil blends are very useful but it’s important not to mix them when you are diffusing. Stick to one blend at a time when diffusing. You could add one or two other oils to the blend, just don’t mix two different blends as it can alter the efficacy of the oils.
How to diffuse
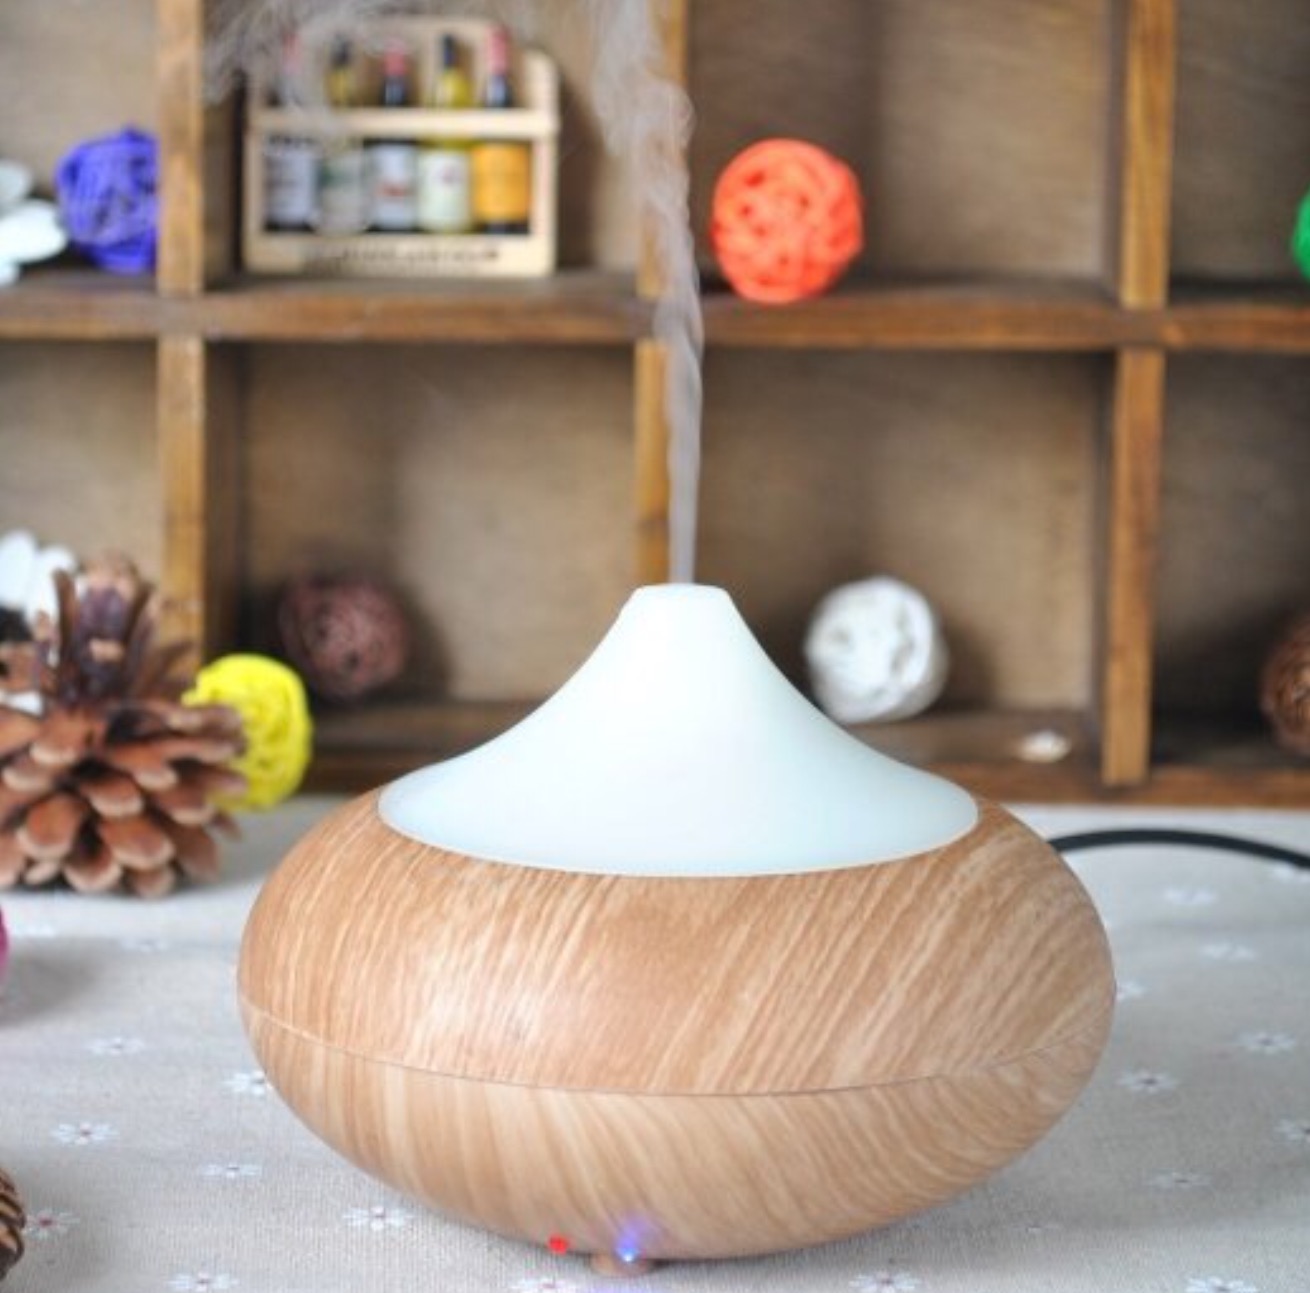
Diffusing essential oils is a simple thing to do. Start with a simple ultrasonic diffuser – they are very easy to use. All you need to do is add some water, a few drops of essential oils, plug it in, and turn it on. Within a few minutes you’ll be enjoying the aromatic benefits of your oils.
If you’re just starting, don’t use too many oils at once or diffuse for more than 15-30 minutes at a time. Also, if you use different essential oils blends, use just one at a time or one blend and another oil or two. The major point is not to overdo it when you’re learning how to diffuse essential oils.
What Diffuser to buy
There are a few choices when it comes to diffusing. Of course, you can simply use a spray bottle and spray around the house, but having a diffuser is a very nice thing (we have 3 because I like them so much!). You can set it and let it do it’s thing. You can let one run all night while your sleeping (very nice for those snoring spouses). You can put them on timers to run intermittently. They are so, so nice to have!
The basic science of a diffuser is simple – they break down the essential oils into small particles and project them into the air. Here are the types that work well with essential oils:
- Ultrasonic diffusers
- Nebulizing diffusers
- Evaporative diffusers
The easiest diffuser to start with is an ultrasonic diffuser. It uses an electronic frequency that creates vibrations that vaporize the oils and water into a fine mist and disperses it throughout the air. There is no heat involved so the properties of the oils are not broken down in the process. It’s easy to use and your risk of diffusing too much is minimal compared to the next type of diffuser.
Nebulizing diffusers differ from ultrasonic in that you attach a bottle of essential oil right to the machine. The mechanism in a nebulizing diffuser creates a very powerful release of essential oils into the air. While that is a great thing, you want to make sure you are running this type of diffuser for short periods of time as too much can overwhelm your body. They are also louder than the other types of diffusers because of the way the machine operates.
Evaporative diffusers are another alternative though they aren’t so great for everyday use. You place a few drops of oil on a pad, insert it into the device and when it’s turned on, a fan blows air through the pad and disperses the oil. While they aren’t ideal, I like to have one when I’m traveling. They are very useful for long drives or overnight trips.
If you haven’t yet purchased a diffuser you can still enjoy the aromatic benefits of your essential oils. Add a few drops to a spray bottle along with a cup of purified water. Mist your house (or car!) with the mixture and you’ll clear the air of odor-causing substances.
You can also make your own reed diffuser if you’re not quite ready to purchase a diffuser. The oil blend ‘travels’ up the reeds that are held in a glass jar. It’s a nice way to try out diffusing without spending the money on an expensive diffuser.
Making your own reed diffuser is very simple and you’ll only need a few items:
- 5 diffuser sticks (bamboo skewers work too!)
- glass jar (one with a narrow opening)
- carrier oil (fractionated coconut oil or almond oil)
- essential oils
Combine about 1/4-1/3 cup carrier oil with 20-25 drops of essential oil and pour into the glass jar. Place the diffuser sticks in the jar and wait for the scent to ‘travel’ up the reeds.
To refresh the scent, flip the sticks over – every few days is sufficient. After awhile the sticks will become saturated with oils and won’t be as effective so you’ll want to replace them with fresh sticks. Also, the more sticks you use the more often you’ll have to replace them.
One last note – make sure to keep it up and away from kids and pets so the jar doesn’t get knocked over & spilled.
Make a diffuser necklace
Putting a few drops of oil on a clay pendant that you wear on your wrist or around your neck is a great way to benefit from the properties of essential oils. I love to wear Stress Away (a Young Living blend) – it smells so yummy. And making your own diffuser necklace is very easy to do. So let’s learn how to make a diffuser necklace!
Making the necklace
You only need a few things to make a diffuser necklace (note: I did not use the exact items listed, I used what I had on-hand but tried to find similar items for your convenience):
- Terra-cotta or white clay (air-dry clay works best)
- Waxed paper
- Small round cookie cutter (about 1 to 1 1/2 inches in diameter)
- Decorative Stamps
- Drinking Straw
- Leather cording
- Essential Oils
The first thing to do, is to work a small portion of clay until it is pliable before pressing it out to a flat, even thickness (about 1/4 inch thick) between two layers of waxed paper.
Using the cookie cutter, cut out the pendant shape. Create a unique design on the pendant by pressing a decorative stamp into the clay. Smooth out the rough edges with your finger tips (sometimes a bit of water helps too).
Use a straw to create a hole large enough for a length of leather cord to fit through. Follow the instructions on the clay for drying before stringing your pendant on the leather cord.
How to make a diffuser bracelet
Diffuser jewelry is a fun project to work on with your kids. You can make pendant style diffuser necklaces but I think bracelets are perfect for a first project for kids. They are easy to make and can be personalized in so many ways. Everyone can choose their favorite essential oils – you’ll probably want to make a few different bracelets for all your favorite oils. So let’s learn how to make a diffuser bracelet!
Making the bracelet
You only need a few things to make a diffuser bracelet (note: these are not the exact products I used in the photos. I did try to find similar items for your convenience):
- Terra-cotta or white clay (air dry clay works best)
- Small decorative stamps
- Toothpick
- Craft glue
- Craft beads
- Leather cording or jewelry cord
- Essential Oils
Start by pinching off small pieces of clay, similar in size to the beads you are using. Roll them into beads then use the toothpick to poke a small hole through the center. When you’ve made all the beads you need (you really only need 1 or 2 per bracelet) choose a few small stamps to add some decorative touches. Follow the instructions on the clay for drying.
Once your beads have dried, string them with your decorative beads onto the leather cording or jewelry cord until it’s the desired length. Tie off the cord and use a bit of glue to adhere the ends. That’s all there is to it – it’s very easy to learn how to make a diffuser bracelet!
Essential Oils
Notice: Function WP_Scripts::localize was called incorrectly. The $l10n parameter must be an array. To pass arbitrary data to scripts, use the wp_add_inline_script() function instead. Please see Debugging in WordPress for more information. (This message was added in version 5.7.0.) in /home/cathys8/public_html/WP/wp-includes/functions.php on line 6031